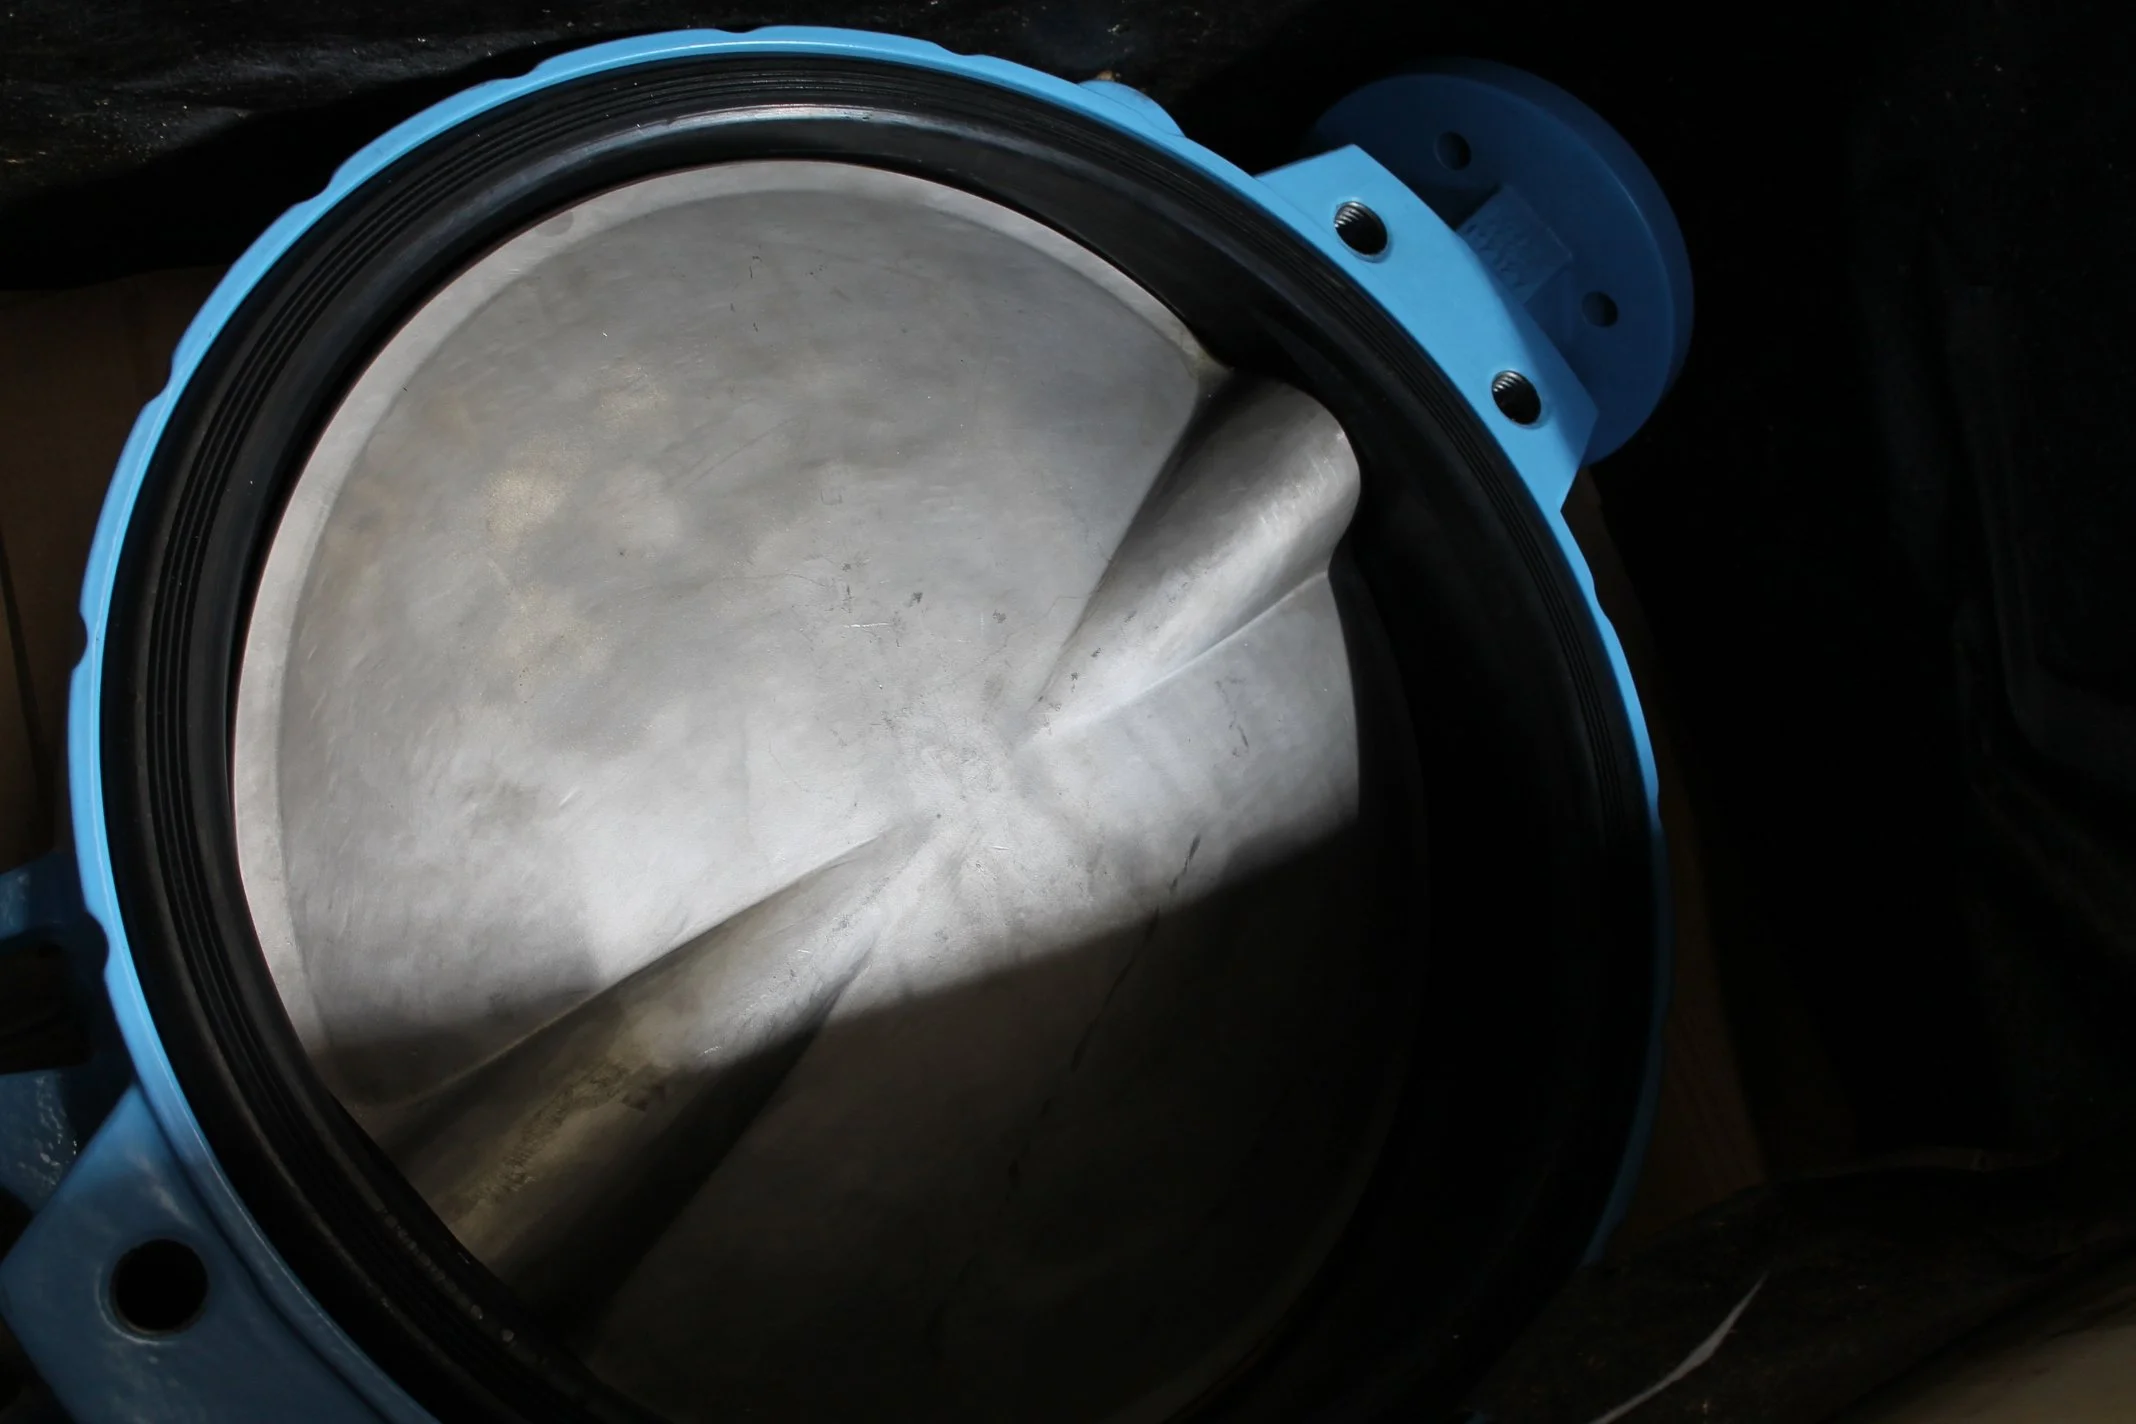
How to Select the Correct Actuator for a Valve

INTRODUCTION: WHY ACTUATOR SELECTION MATTERS
Selecting the correct actuator for a valve is just as important as selecting the valve itself. An actuator provides the force that opens, closes, or modulates the valve, and if it is incorrectly chosen, the entire system can suffer. Poor actuator selection leads to unreliable operation, increased wear, safety risks, and costly downtime.
This guide breaks actuator selection into clear, practical steps — focusing on torque, safety factors, duty cycle, and environmental conditions — so you can make confident, reliable decisions.
STEP 1: UNDERSTAND VALVE TORQUE REQUIREMENTS
Every valve requires a specific amount of torque to operate. This includes breakaway torque (the force needed to initially move the valve), running torque, and end torque at full open or closed positions.
The most common mistake is sizing an actuator based only on nominal torque. In real-world conditions, torque increases due to pressure, temperature, seal friction, and media build-up. Always size actuators for worst-case torque conditions, not ideal ones.
Valve manufacturers typically provide torque figures — these should be treated as a baseline, not a final answer.
STEP 2: APPLY A SAFETY FACTOR

A safety factor ensures the actuator can handle unexpected variations without strain. This margin accounts for wear over time, pressure fluctuations, and environmental influences.
For most applications, a safety factor of 25–50% above required torque is recommended. In critical or high-risk systems, even higher margins may be appropriate. An actuator operating near its maximum capacity will fail far sooner than one operating comfortably within its limits.
If the actuator has no spare torque, it has no tolerance for change.
STEP 3: CHOOSE THE RIGHT ACTUATOR TYPE
The two most common actuator types are pneumatic and electric, and each has clear strengths.
Pneumatic actuators are fast, robust, and well-suited to high-cycle or harsh environments. They are ideal where compressed air is available and rapid operation is required.
Electric actuators offer precise positioning and are often preferred where air supply is unavailable or where accurate modulation is needed. However, duty cycle limits must be carefully considered.
Choosing the wrong actuator type often results in overheating, poor control, or excessive maintenance.
STEP 4: CONSIDER DUTY CYCLE AND OPERATING FREQUENCY
Duty cycle refers to how often and how long an actuator operates. Many electric actuators are designed for intermittent operation, not continuous cycling. Exceeding duty cycle limits leads to thermal overload and premature failure.
Pneumatic actuators handle frequent cycling better but rely on stable air supply and correct solenoid sizing. The actuator must match the actual operating pattern, not the assumed one.
STEP 5: ACCOUNT FOR THE OPERATING ENVIRONMENT
Environmental conditions have a major impact on actuator performance. Temperature extremes, moisture, dust, vibration, and corrosive atmospheres all affect longevity.
Outdoor installations may require higher enclosure ratings, corrosion-resistant coatings, or stainless steel construction. Hazardous areas may require certified actuators. An actuator suited for a control room may fail quickly on an exposed pipe rack.
CONCLUSION: MATCHING ACTUATOR TO APPLICATION
Selecting the correct actuator means understanding torque demands, applying safety margins, choosing the right technology, respecting duty cycles, and accounting for environmental conditions. There is no universal actuator — only the right actuator for the job.
Taking the time to select properly results in reliable valve operation, reduced maintenance, and long-term system performance.